SV Pilgrim - 1979 Morgan 382 - Homeport: Beaufort, NC

Tuesday, December 30, 2014

Installing New Tabbing In the Ice Box Compartment


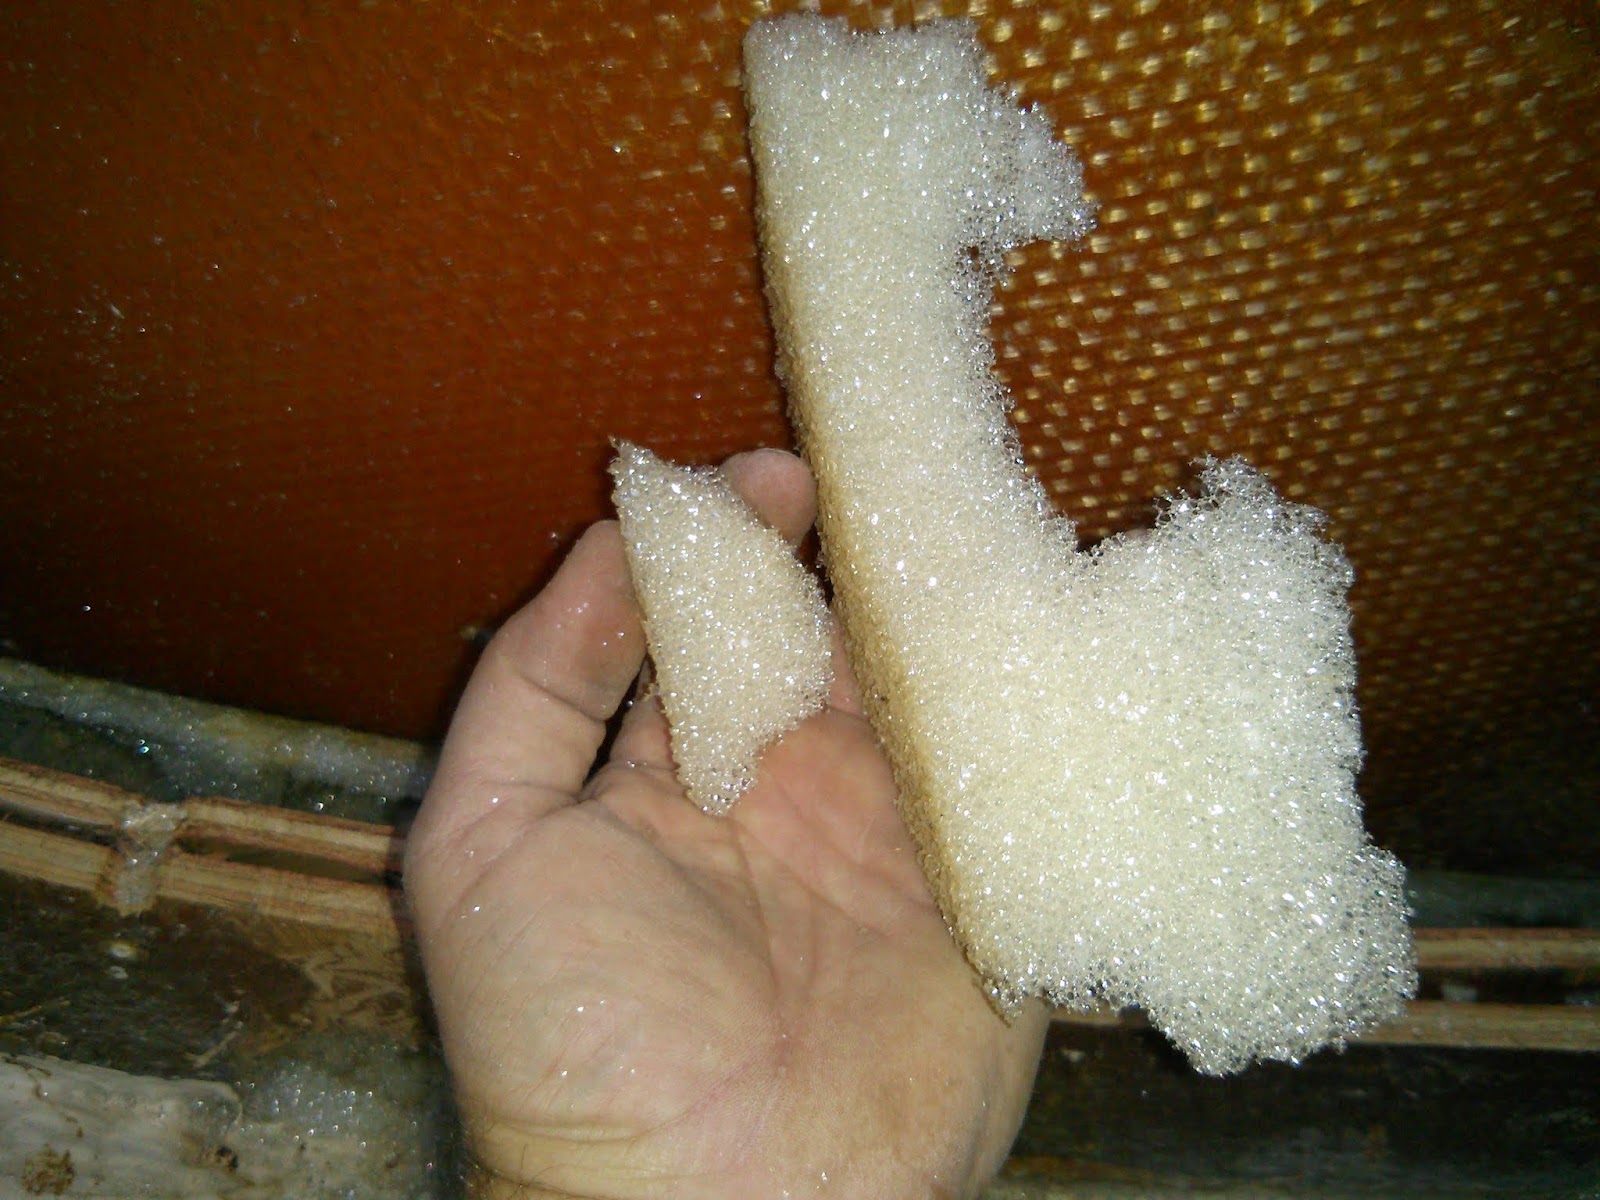
Prior to cutting any cloth for tabbing, we filled the gap between the two aft bulkheads with expanding foam.
Adding expanding foam between the two aft bulkheads.

Next we filled the voids under the aft bulkhead, mid-ship panel, and forward panel with expanding foam.
Adding foam under the aft bulkhead, mid-ship panel, and forward panel.

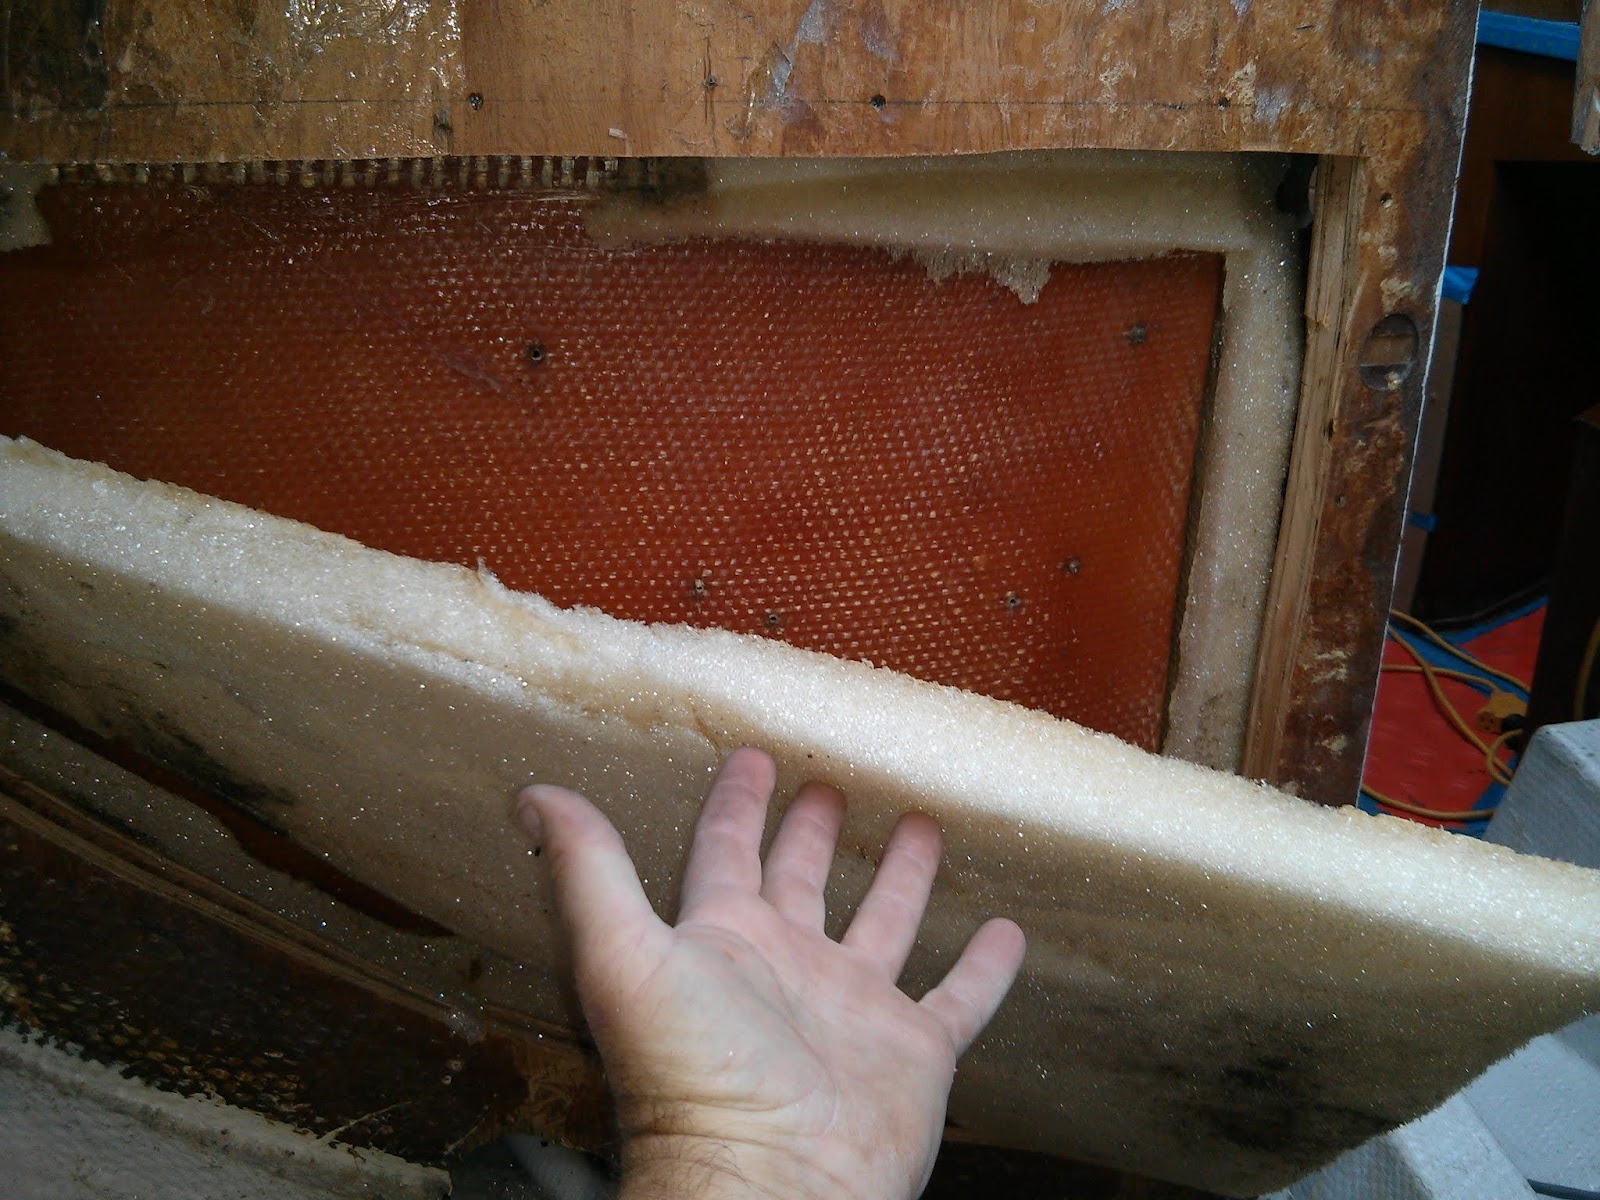
After cutting away the excess foam, we dry fit sections of 1708 cloth tabbing  along the various surfaces.
Dry fitting 1708 cloth between the hull and vertical panels in the ice box compartment.

The forward and mid-ship panels have one layer of cloth.   The cut out in the fore and aft bulkheads will allow the ice box drain, bilge pump discharge hoses, and the propane line for the stove to pass under the ice box.
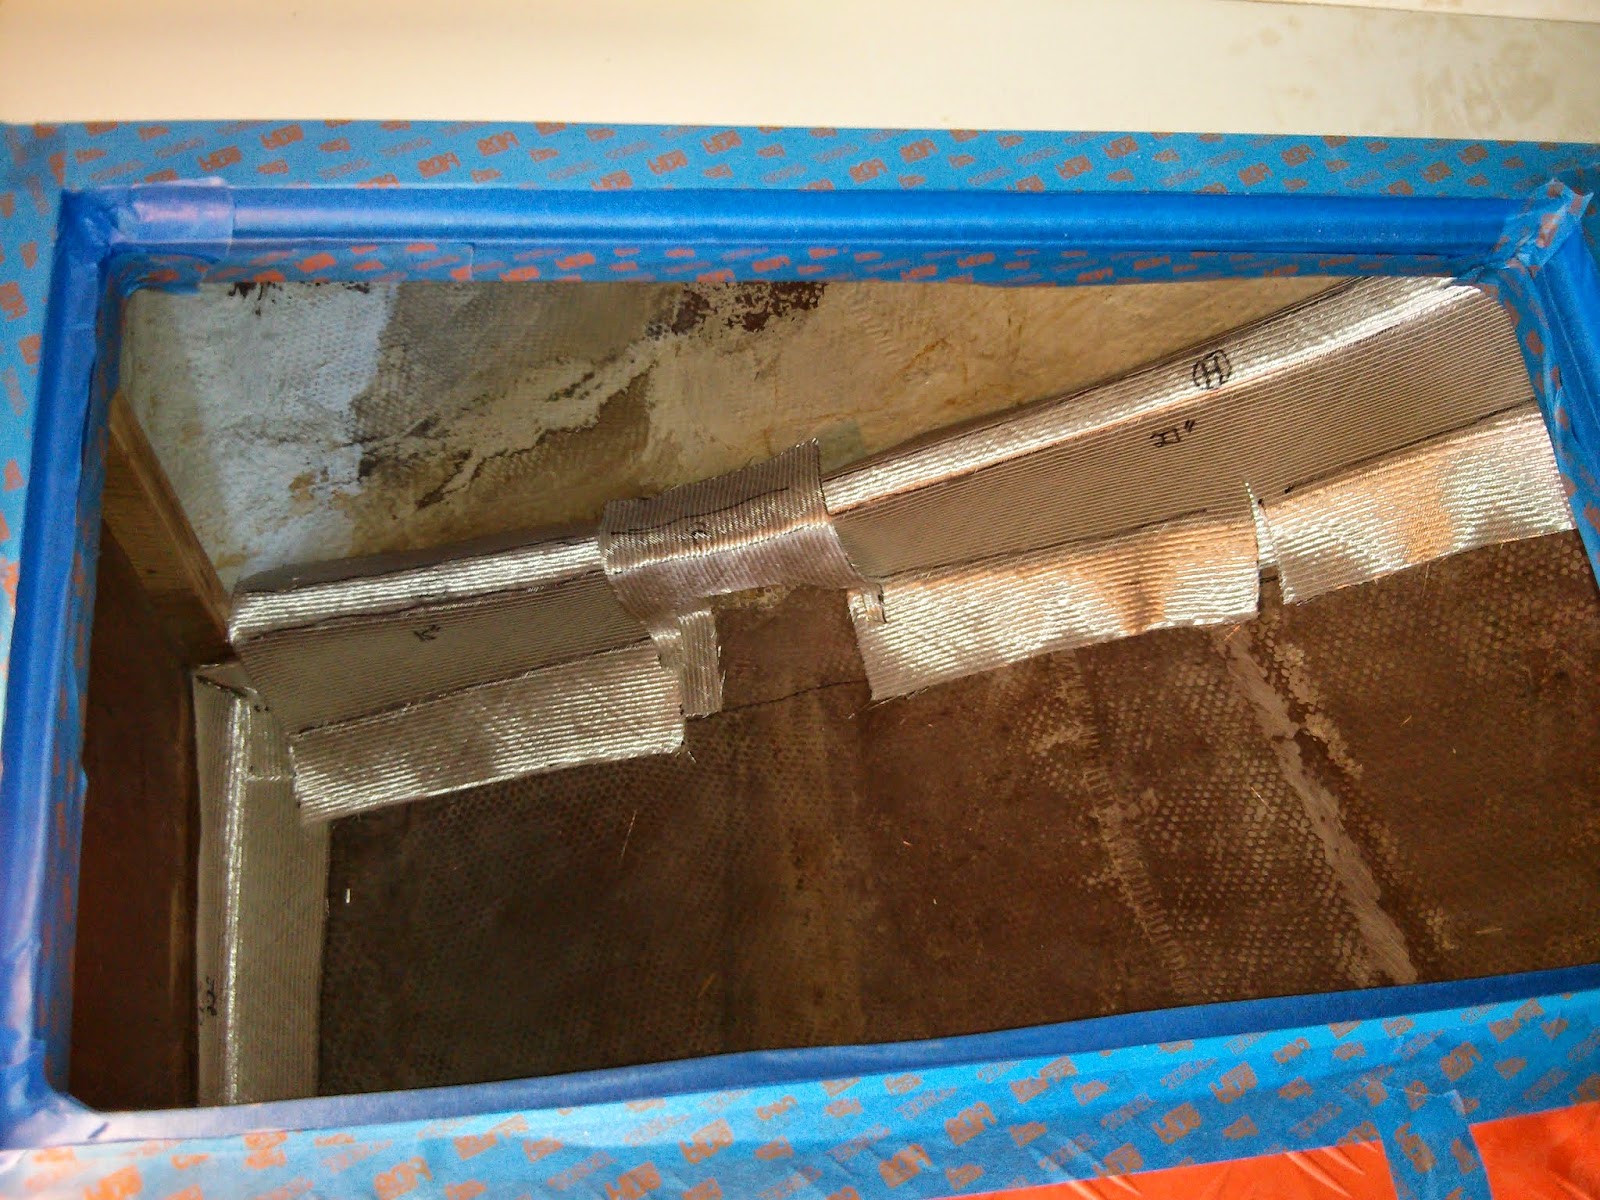
Multiple layers of cloth on the double bulkhead aft.

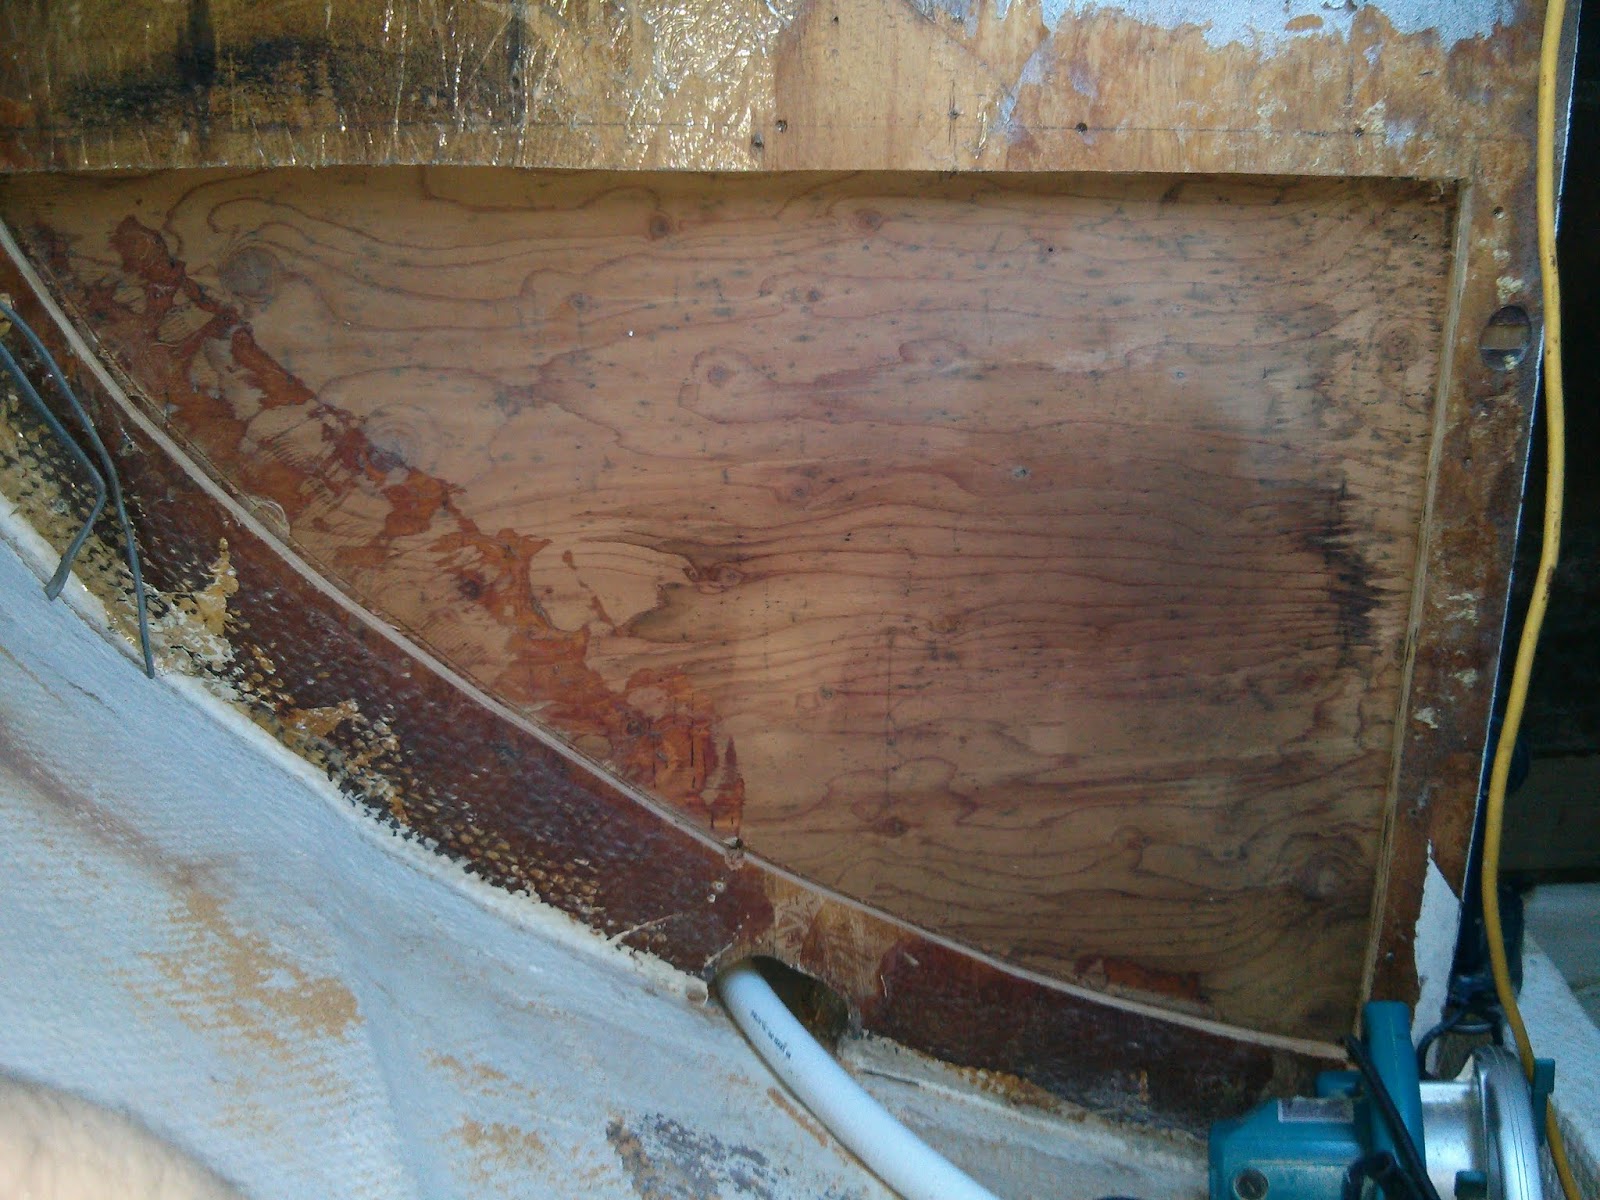
We plan to capitalize on the discovery of the double bulkhead by laminating the two ½” bulkheads together to form a  single stout rib along the hull.  The achieve the additional strength this area received two to three layers of cloth.

Anne suited up for wetting out fiberglass cloth.

Wetting out and laying up large sections of fiberglass is always a team effort.
 
Looking forward from the cockpit locker at the new tabbing.
Looking down through the ice box lid at the heavy lay-up over the double bulkhead.

Another sign of Morgan’s hasty construction is the lack of bulkhead on the inside of the cockpit combings.   
Morgan did not extend the bulkhead between the cockpit locker and the galley did into the inside of the cockpit combing.

While we were in the neighborhood we filled the opening  at the top of the bulkhead between the cockpit locker  and the galley with a ½” The plywood insert .  We also added tabbing between the bulkhead and the underside of the deck.  Our additions should add strength to the hull and deck. 
Plywood insert extends bulkhead.  Tabbing bonds bulkhead to deck and combing.

Ultimately we plan to re-mount the Alder-Barbour condenser unit in this vicinity along with a vent into the galley for circulating air around the condenser.   

TO BE CONTINUED…


Here is a link to additional images and notes – Ice Box Rebuild Photo Album

Monday, December 29, 2014

Dissecting the Ice Box Reveals Morgan Construction Shortcomings

Here is a link to part one – Removing the Original Ice Box

I expected to unveil the cause of the leaking drain that initiated the ice box rebuild, I did not anticipate to discover…
Exterior of ice box drain fitting... and yes my foot is resting on the starboard engine bed in the background.
The fitting between the ice box and the drain hose was a 90⁰ hose barb.  Standard fare on the discharge end – a hose held in place with a stainless hose clamp – all good here.  At the ice box end - the hose was set in the box via a coat of epoxy painted atop the insulating foam.

The interior of the ice box drain fitting.  The flat surface was pressed against the exterior of the ice box.

The end of the hose barb was cut flush with the wall of the box.  That is it.  No mushroom head fitting.  No threads tapped into the box.  No caulking.  I have to believe this fitting has leaked since hull #115 rolled out of the production shed.  The mold in the insulation surrounding the drain fitting serves as additional evidence of a 35 year old leak.

Once all the ice box pieces were excavated and the last of the insulation crystals sucked into the shop vac, I marveled at a complete lack of tabbing between the hull and any of the surrounding cabinetry.
Looking forward through the ice box compartment at the unsupported 1/2" plywood wall below the galley counter top.

The wall forward of the ice box that forms the face below the counter top in the galley is unsupported for all but the lowest six inches.  The last six inches of the vertical panel (closest to the companionway) rests atop the cabin sole but is not directly fastened to the sole.  I cut the five inch circular hole at the lower right during my early attempts to replace/repair the ice box drain.  I will fill it later in the re-build.
Looking through the lid of the ice box at the unsupported base of the mid-ship, vertical wall that divides the ice box from the engine compartment.

The wall separating the ice box from the engine compartment also lacks tabbing to the hull and is unsupported along its entire length.    This opening allows hot air from the engine compartment direct access to the poorly insulated underside of the ice box – ridiculous!  The black mold in the image above is the remnants of the colony growing around the leaking ice box drain.

Time to purchase more 1708 cloth… TO BE CONTINUED.

Here is a link to additional images and notes – Ice Box Rebuild Photo Album


Sunday, December 28, 2014

Removing the Original Ice Box

We are visiting family in New Hampshire for the holidays.  Over 600 miles from Pilgrim and I finally find a bit of time to post some updates.  

What began as an attempt to replace a leaking drain in the ice box… lead to the discovery of just how inadequate the 35 year old, original insulation… lead to the decision to completely rebuild the ice box.
Looking down into Pilgrim's ice box with Alder-Barbour evaporator on upper left.
The obvious plan of attack would be to make the repair through the opening in the counter top.  This approach provides limited access and plenty of opportunities to damage the countertop.  My second thought was to remove the counter top, but I felt that this would lead to replacing all the counters and galley cabinets.  Fearful of too much project creep, I eliminated removing the  the counter top as an option.

Currently, Pilgrim’s engine and the partition separating the engine compartment and the cockpit locker are removed.  This provides unfettered access to the bulkhead aft of the ice box.  Additionally, this bulkhead was a mess when we began our refit.
So many issues here I am speechless..
Wires ran asunder.  A defunct manual pump for the ice box hung from the wall.  A previous owner sprayed a silly-string-esque foam on the bulkhead in an attempt to either insulate or dampen sound.  We were all too happy to rid the boat of this abomination.  Thus our plan of attack for rebuilding the ice box was via the removal of a section of the aft bulkhead.  

NOTE...I do realize that the bulkheads are structural.  I consulted with a couple experienced marine carpenters prior to initiating the first cut.  We have a plan that I am confident will result in a stronger hull once completed. 

I removed the Alder-Barbour condenser and evaporator prior to making the first cut.

The Alder-Barbour condenser resided on a shelf in the cockpit locker.  Note the silly string is gone.
Fortunately identifying the height of the countertop and location of structural members at the inboard corner was easy due use of screws in the original construction.  Based on the fastener layout I marked out the section to be removed.  Along the hull I used the top of the tabbing as a guide.  Using a combination of jigsaw and circular saw I cut away the ½” plywood bulkhead and discovered…
Surprise... another bulkhead!
a second ½” plywood bulkhead.  Both bulkheads were tabbed to the hull and were separated by a ½” to ¾” gap.  The forward bulkhead extends from the hull to the underside of the galley countertop.
Ice box insulation exposed.  The insulation along this side of the box was less than 2" thick.
Removing the second bulkhead exposed the feeble ice box insulation.  In most areas the insulation was less the two inches thick and consisted of crisp, disintegrating open cell foam.
The open cell insulation crumbled when handled.
The insulation was not bonded to the exterior of the ice box and was easy to remove with a razor knife.
After cutting around the insulation with a razor knife it fell away from the box.
Our plan is to re-insulate the box with a minimum of four inches of foam.  This will result in a smaller but vastly more efficient ice box.  A smaller box will hopefully allow us to reuse some of the original ice box walls.    

The initial wall to go was the aft. 

Looking into the ice box from the cockpit locker.
In an effort to preserve as much of the original walls as possible, I discovered that by drilling a pilot hole and then bridging the base of the jigsaw on opposite faces allowed me to cut along the corner. 

NOTE… A standard jigsaw blade is not adequate for cutting fiberglass.  The Bosch T341-HM1 blades are designed for cutting fiberglass.   The T341 blades are 5-1/4” long.   I had to use a cut off wheel to shorten the blade to 3” for making these cuts.
My technique for cutting the ice box walls into sections.
The final outboard cut required some awkward hand sawing.
In small spaces I resorted to hand sawing. 
TO BE CONTINUED…

More images and notes are available in our Ice Box Rebuild Album


Wednesday, December 3, 2014

The View From Here


 Snapped an image of Pilgrim, upper center,  while installing a new antenna and Garmin anemometer atop the mast of SV Sea Rose, a 58 foot Little Harbor Sloop.   Sea Rose's owner whats the boat ready for departure prior to the holidays.  Ticking off all the last minute Sea Rose projects is consuming much of my time.

I know the blog has been a bit silent of late.  Multiple trips for Florida, a quick stint of work for Outward Bound, and a Thanksgiving Holiday have slowed our progress and limited time for penning updates.

We have made some progress on Pilgrim…
  • We are pleased to report that our cap rail repairs stopped the leaks along the starboard hull.  Previously we would have drips in the pilot berth, electrical panel, and quarterberth during periods of heavy rain.
  • We have installed a new potable water manifold that allows us to isolate or  equalize the water between the port and starboard tanks.
  • We have installed the pressure water system and accompanying manifold
  • We removed the original ice box and all the original insulation. 

I do plan to write up descriptions of all these projects.

The next step is to build a new ice box with much improved insulation.


For the next few weeks I'll be spending more time on projects for other peoples' vessels and peering longingly at Pilgrim from afar.