SV Pilgrim - 1979 Morgan 382 - Homeport: Beaufort, NC

Sunday, February 16, 2014

Justification For Removing all the Plumbing and Through Hull Fittings

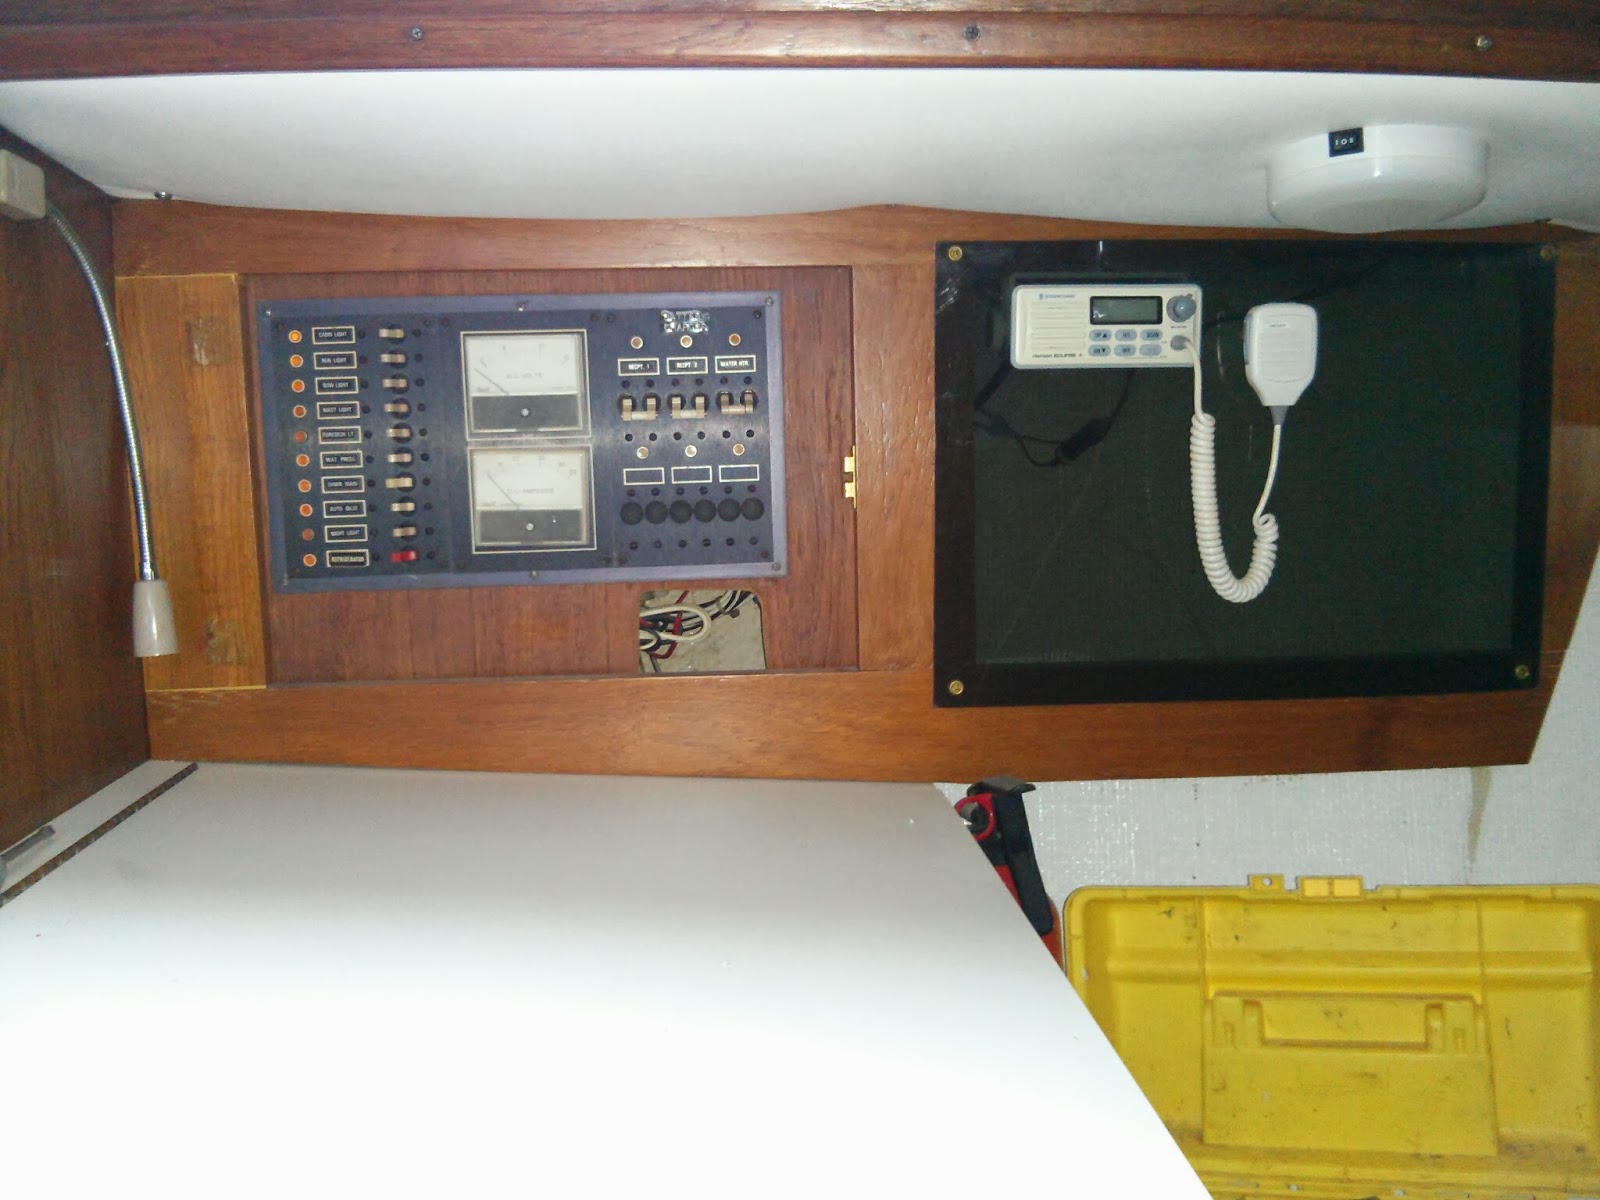
Like Pilgrim's electrical system much of what I discovered in the plumbing looks to be original. 

Head plumbing.
The original components in the head  include a couple gate valves and lots of PVC Pipe in the black water plumbing. 

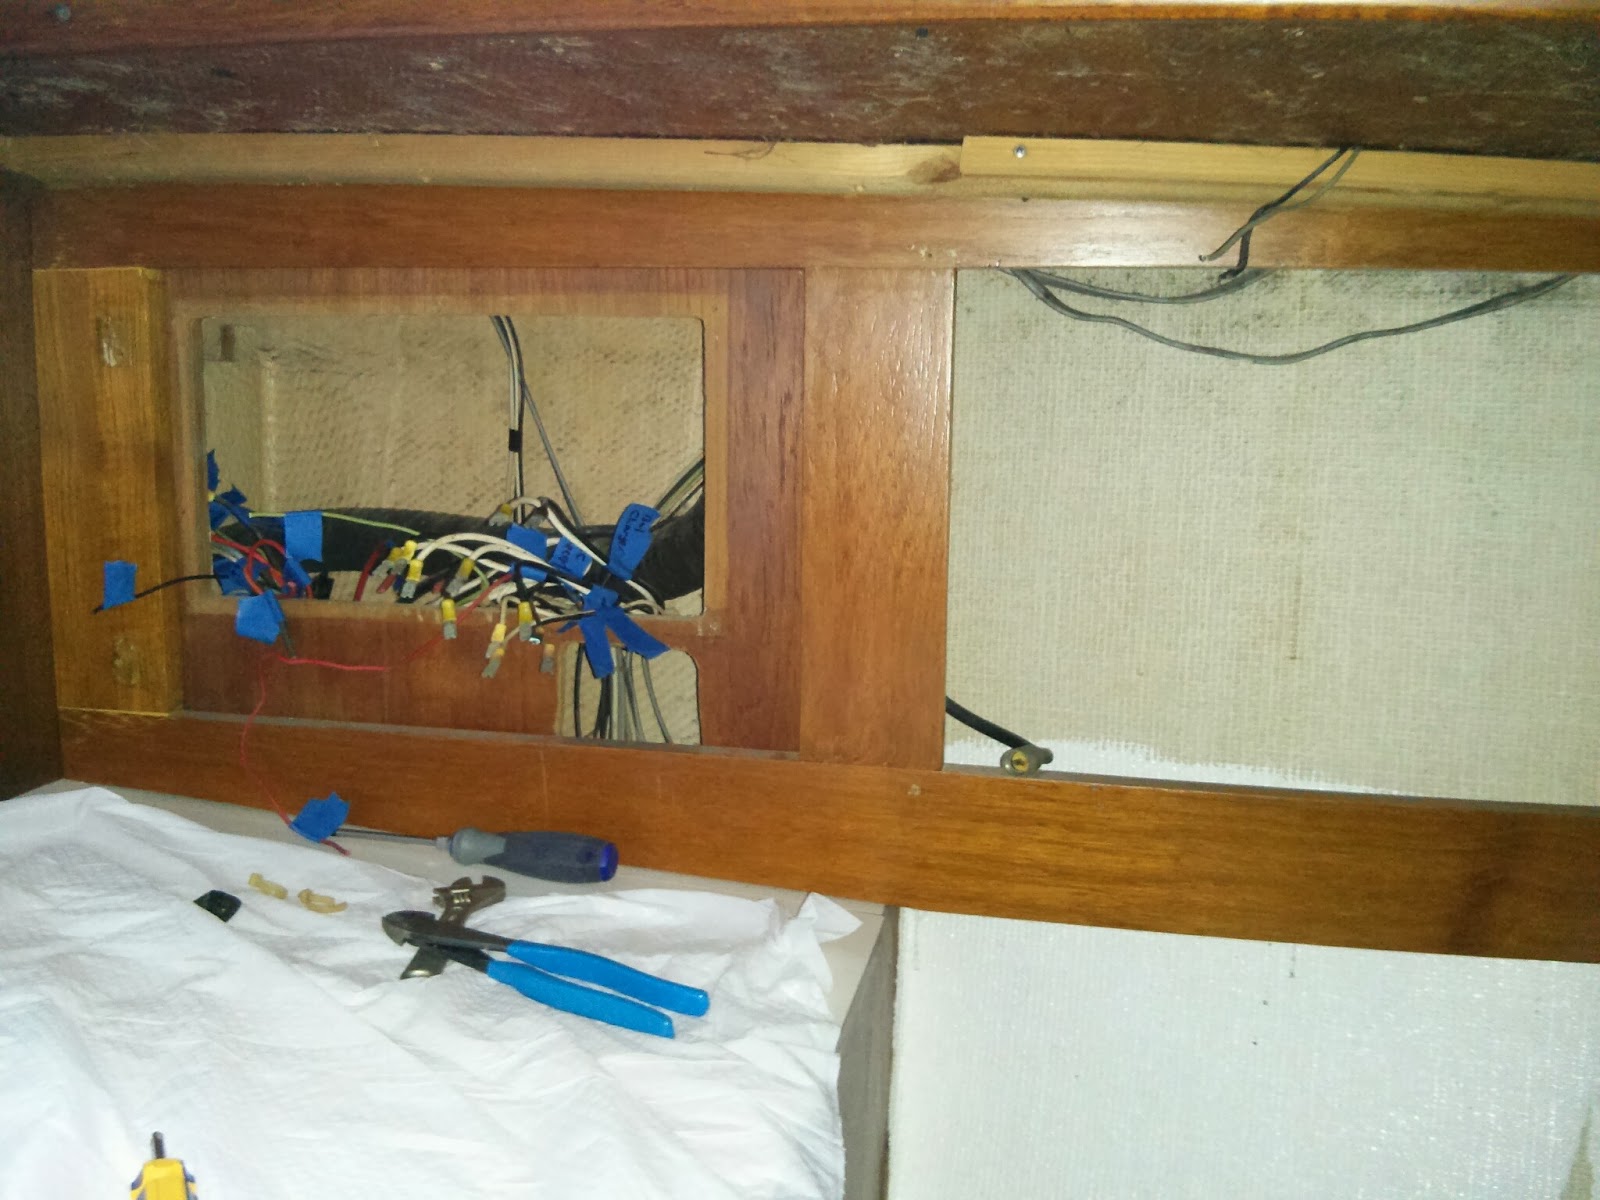
Portion of Galley Plumbing under sink.
The galley plumbing has received some upgrades including  a new Force 10 hot water tank and a new pressure water pump, but the installation is haphazard. Much of the galley plumbing appears to be original to the vessel.

At times I became overwhelmed by the scope of the project.  Pulling all the plumbing?  What about the saying, “if it ain’t broke don’t fix it?” 

With all the head plumbing, including three through hulls, and most of the  galley plumbing now removed.  Two discoveries completely justified my commitment to strip it all out.

By applying on moderate pressure to a pipe wrench while attempting to remove a newer ball valve in the head, the lower section of the valve sheared off.

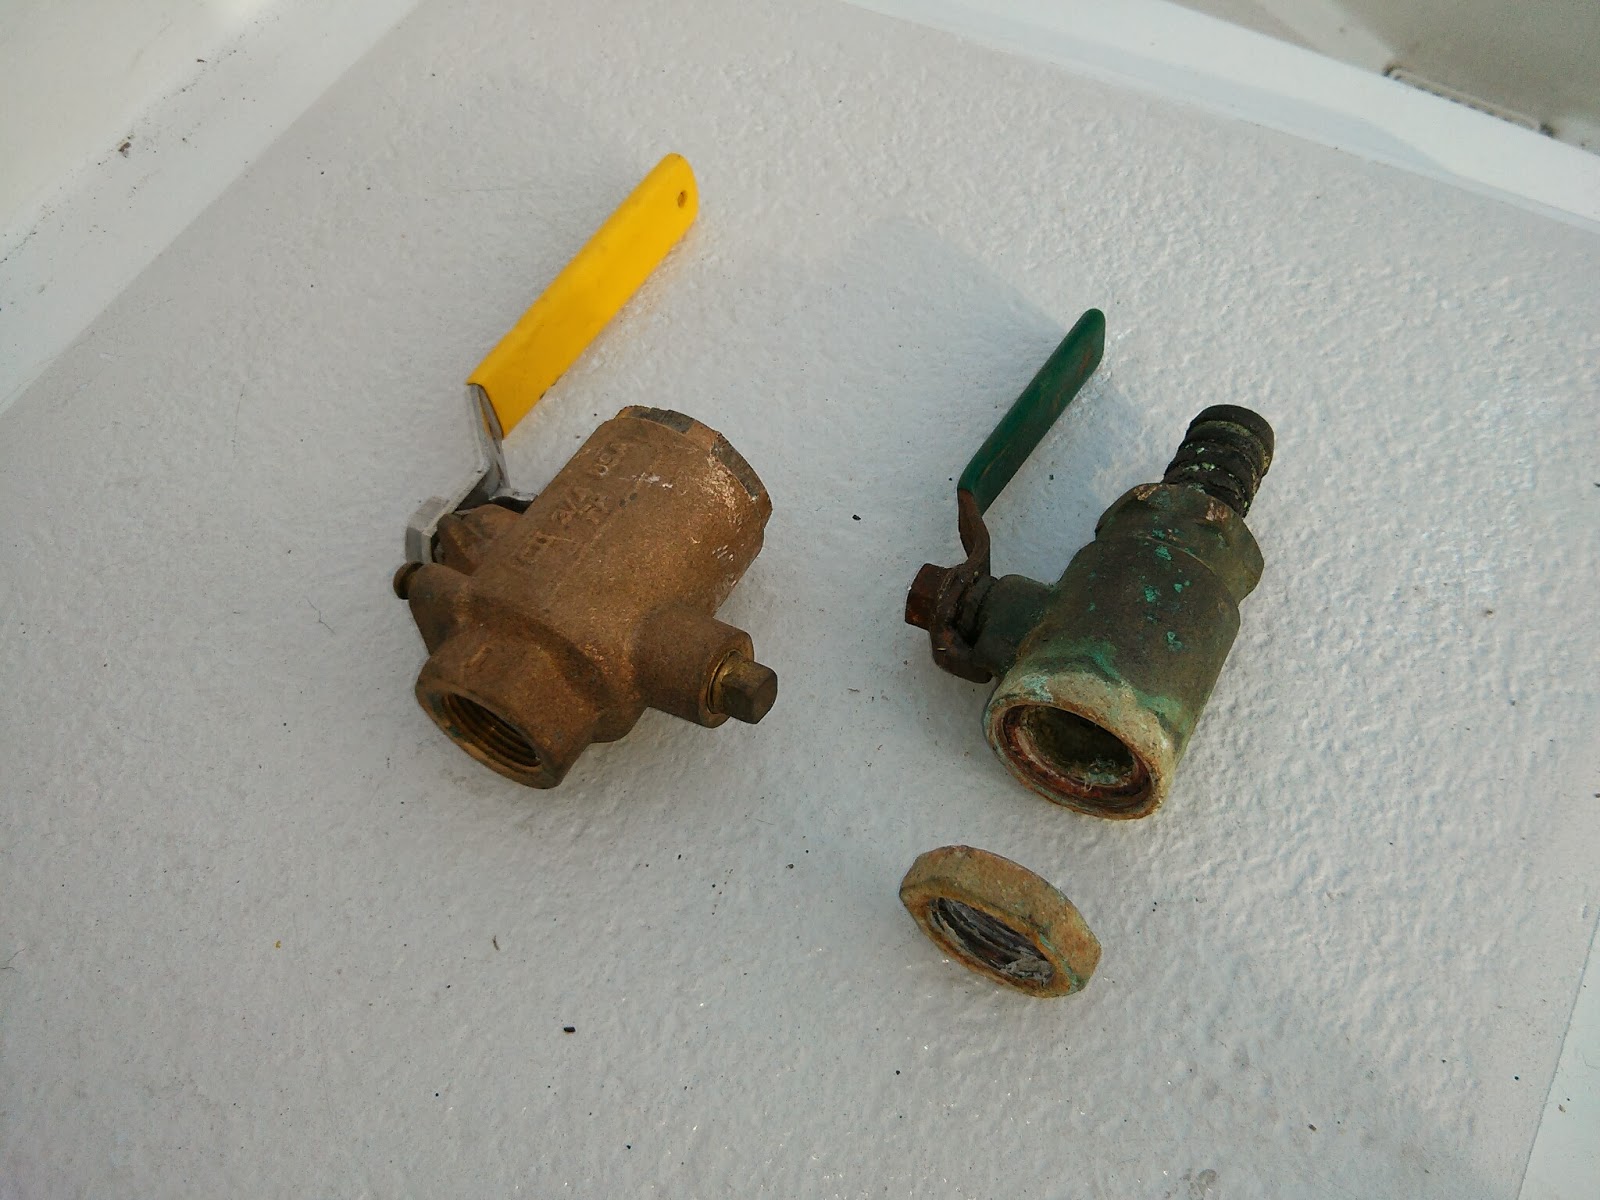
Large valve on right is intact.  Smaller valve on left sheared off below valve.
If this ever happened while on the water, only immediate action would prevent the vessel from sinking.

The second frightening discovery was the hose on the galley sink drain. 
 
Exhaust hose used for sink drain "rotting" just above through hull fitting.
The wire reinforced ehhaust hose could actually be considered over kill for a sink drain.  Age and a kink just above the hose barb at the through hull have served to “rot” the rubber hose.  This section of hose is at least 18” below the waterline.   The lower sectio of the hose is cracked and soft to the touch. I'm very surprised it was not already leaking water when Pilgrim was last floating.  Failure of this hose would result in rapid flooding.


I’m still overwhelmed by the scope of the project, but definitely feeling justified in removing all the plumbing and through hulls.  Currently three through hull fittings are out and two remain to be pulled.  Well that is not counting the three transducer through hull fittings.  That’s another project.

Tuesday, February 11, 2014

M382 Pilot Berth Facade - SOLD

UPDATE - The item below has sold.

Pilgrim's previous owner created a nice teak facade for the pilot berth.

View from galley
view from forward looking aft.
The facade has three cabinet doors that match the M382 interior and one open section at center.

The panel is actually two pieces that meet in center - just forward of open section.

Each section is held in place  at the bottom by 3 screws into the pilot berth combing  and at the top by two screws.  One top screw is located at the middle and the second screw is at the bulkhead.

Forward Section
Aft Section

We are asking $100 plus any shipping and handling costs.  We would prefer that the buyer picks up the panels in person in Beaufort, NC, but I am confident that shipping the two panels is a possibility.

If you are interesting leave a comment here or on the M38 Owners Board.

We prefer and open design and plan on creating shelving in the pilot berth area.

Stripping Down the Interior

While the winter weather continues to thwart our progress Anne and I have both rebounded from the flu.  I’m back to stripping down the interior in the pursuit of rewiring and re-plumbing Pilgrim.

Pilgrim's Original Electrical Panel
The electrical panel is gone.  The wiring was definitely original with previous owners finding creative methods of adding devices and circuits to the system.  I’m surprised that none of the original wiring from Morgan was tinned.  All of the wiring buses were located in a false bottom in the navigation table.  Clever, but I'm certain the space will be too small for the re-build.

Panel removed now onto the wiring
The process is daunting, but I am confident this is the best course of action.

Chasing down wiring has also lead me to remove some of the headliner.
 
Crumbling open cell foam that rained down from the headliner.
 I believe that some of these pieces have never been removed.  Removing some of the sections resulted in a shower of foul, old open cell foam material.  Yuck. 


It will be out with the old for at least another week.  Once all the old wiring and plumbing are gone we will then begin to install the new.

Saturday, February 8, 2014

Basic DC Wiring Diagram for SV Pilgrim

Well we may not succumb to the weather as we proclaimed in our last post, but over the last week the flu has kept both of us at home and away from Pilgrim.  We are both now feeling better. 

While at home on the mends, I fabricated a basic DC wiring diagram for SV Pilgrim. 

Draft Basic DC Wiring Diagram for SV Pilgrim
I realize my diagram overly simplifies the engine harness, the house distribution, and other systems.  The diagram does help me visualize the layout of the system and identify some parts we need to order. 

The next step is to calculate the wire & fuse sizes.  I’m going to seek some outside assistance for this calculation.  

Now that we are feeling better expect some progress on the quaterberth repairs and battery installation over the next week.